Let's start with some steps that Giorgio explained to me:

"Unfortunately the transparent protective coating of aluminium had gone and horrible oxidations are impossible to remove. So I proceeded to dismantle everything, every single screw...not wanting to simulate the aesthetic condition of the original, I started with the laborious sanding work and elimination of the basic brushing in order to return to the aluminium base.


The boards have been disassembled, degreased and cleaned well, replaced a couple of electrolytics, shortened the abundant wiring and remade the welds on colums; regulated voltages and sheathed thermo any welding points where there may be the risks of some contact.
Regarding the power supply, after having removed all the stickers and the original glue with solvents, were raised some small sketches, primer and final painting.


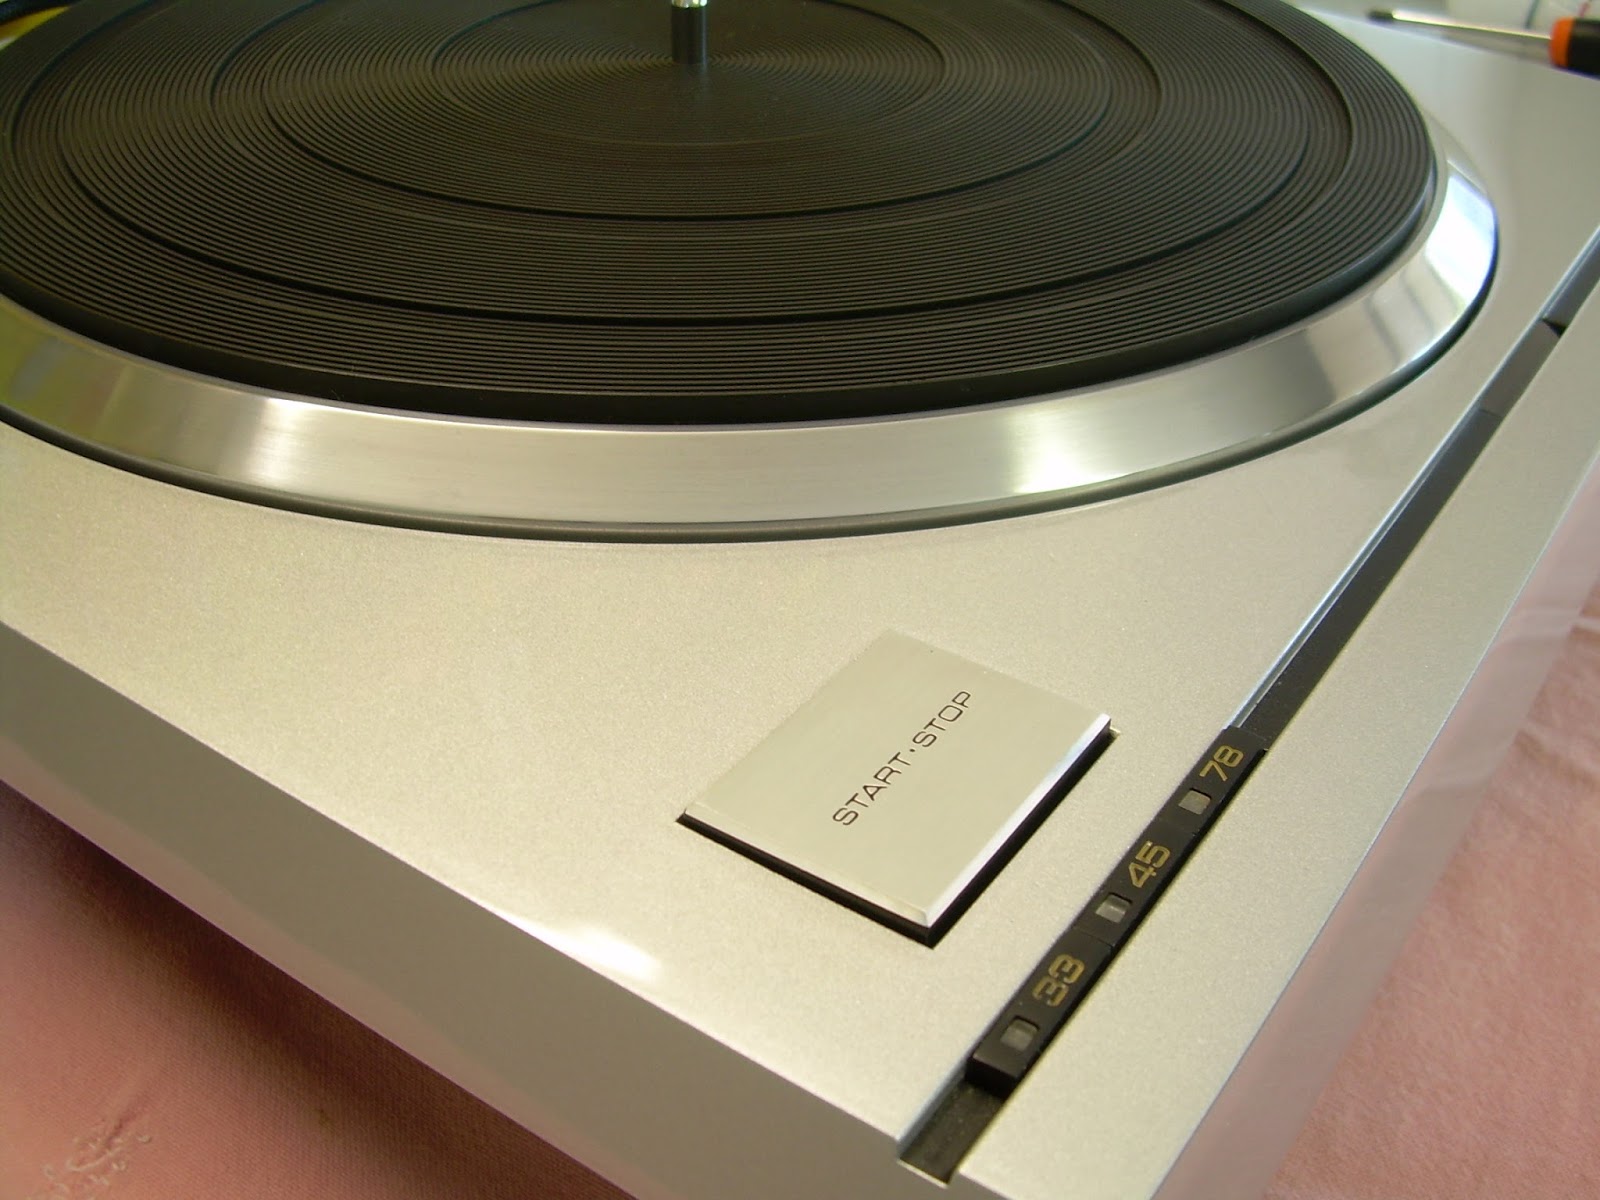
Here we are at the start/stop buttons. We have a lot of pieces of small screws and parts, waschers, buttons and more. The start/stop button has been dismantled. Please note the center of the support the finesse of those who designed this turntable: a micro srew allows you to adjust the height (and therefore responsiveness) of the button and a sping (not visible) provides to cushion the stroke.


Finally I decided to give an adequate packaging".


The pictures cartainly speak louder than words...a meticulous work that has given a new life to this glorious TT. Again thank you to my friend Giorgio for sharing everything.
Stay tuned


